---
title: Manage Data API
subtitle: 'Configure schemas, manage authentication providers, and control API access.'
enableTableOfContents: true
updatedOn: '2025-12-11T14:24:43.414Z'
---
Getting started with Data API
Access control & security
Troubleshooting
Once the Data API is enabled, you can customize its behavior, manage how it authenticates users, or disable it entirely if it is no longer needed.
## Advanced settings
Navigate to the **Data API** section in your project sidebar and look for the **Configuration** panel. These settings control the security and limits of your HTTP endpoint.
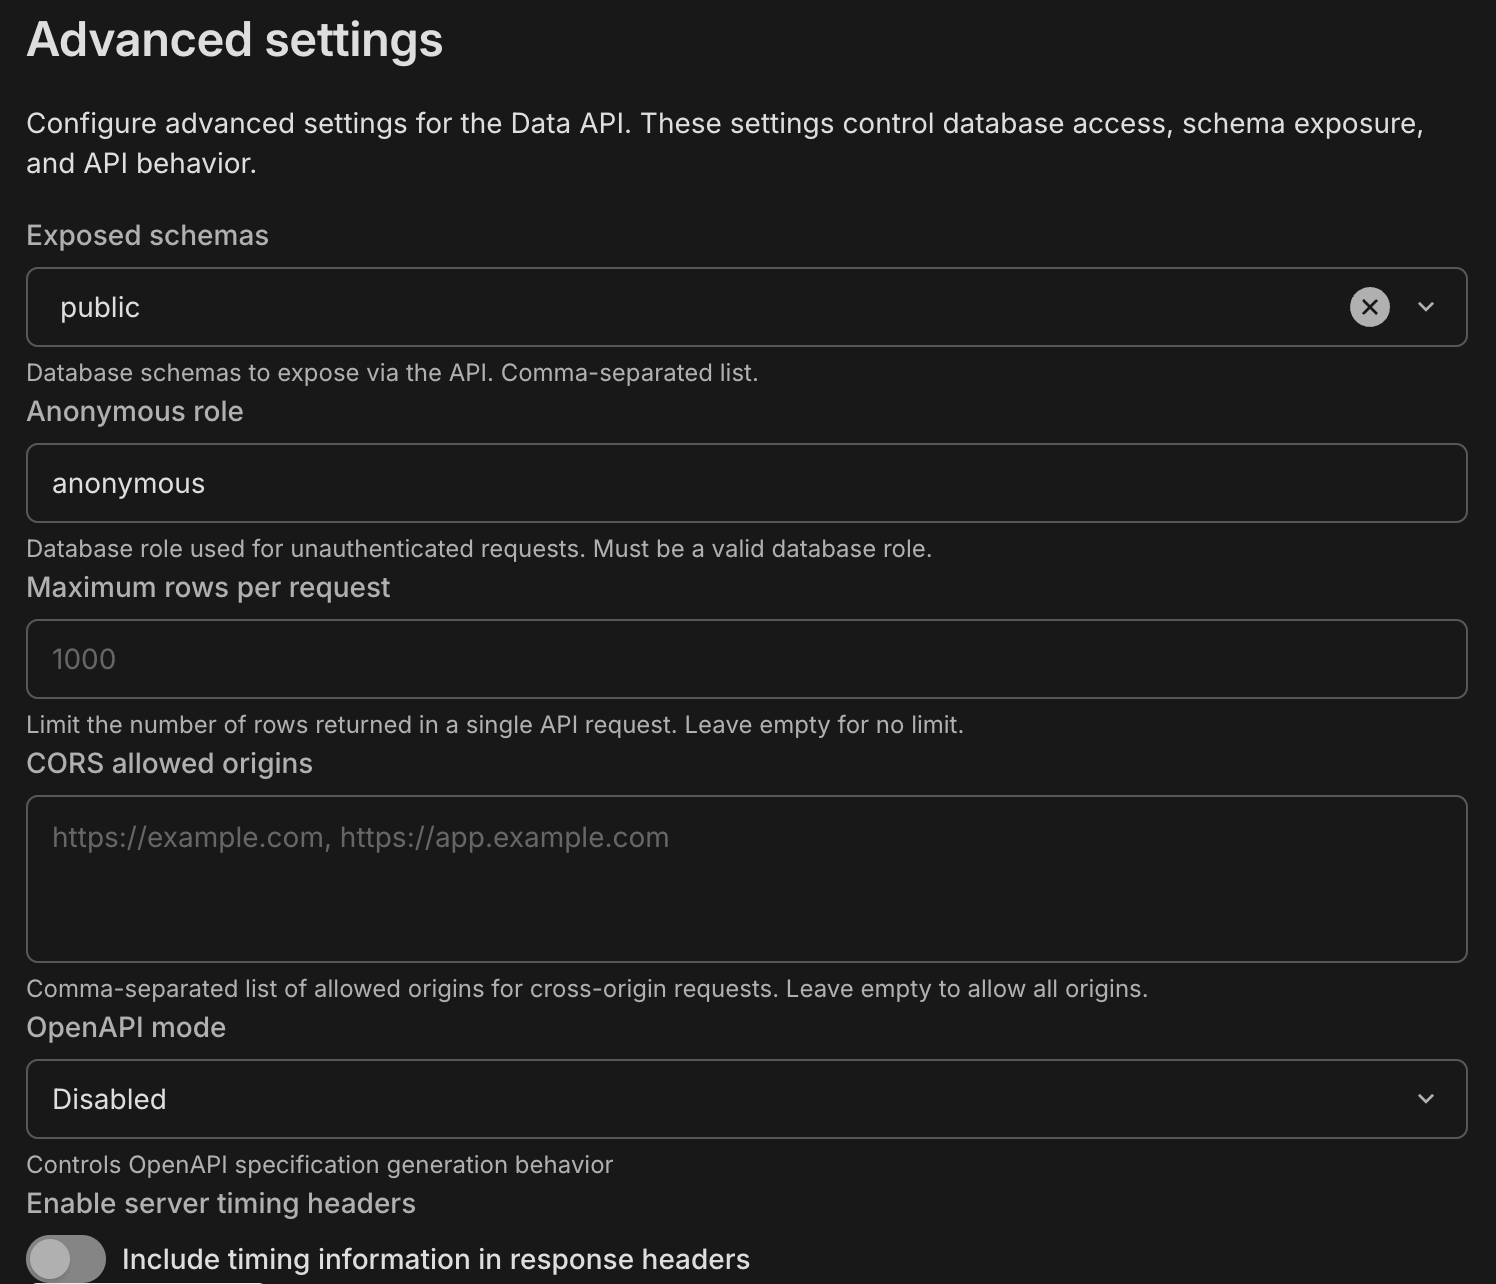
### Exposed schemas
**Default:** `public`
Defines which PostgreSQL schemas are exposed as REST API endpoints. By default, only the `public` schema is accessible. If you use other schemas (e.g., `api`, `v1`), add them here as a comma-separated list.
**Permissions apply:** Adding a schema here exposes the *endpoints*, but the database role used by the API must still have `USAGE` privileges on the schema and `SELECT` privileges on the tables. Refer to [Access control for Data API](/docs/data-api/access-control) for more details.
### Anonymous role
**Default:** `anonymous`
Specifies the database role used for **unauthenticated requests** (requests sent without an Authorization header). To allow public access to specific data, configure this role in your database using SQL `GRANT` statements.
### Maximum rows per request
**Default:** `1000`
Enforces a hard limit on the number of rows returned in a single API response. This prevents accidental performance degradation from large queries. Clients should use pagination limits to retrieve data within this threshold. This also prevents unexpected egress costs from large data transfers.
### CORS allowed origins
**Default:** Empty (Allows all origins)
Controls which web domains are permitted to fetch data from your API via the browser.
- **Empty:** Allows `*` (any domain). Useful for development.
- **Production:** List your specific domains (e.g., `https://myapp.com`) to prevent unauthorized websites from querying your API.
### OpenAPI schema
**Default:** Enabled
When enabled, an auto-generated OpenAPI 3 schema is available at `/openapi.json`. This schema describes your tables, columns, and REST endpoints. You can use it to:
- Generate API documentation (Swagger UI, Redoc)
- Build typed client libraries (TypeScript, Python, Go)
- Import your API into Postman
- Integrate with API gateways and other OpenAPI-based tools
### Server timing headers
**Default:** Disabled
When enabled, the Data API includes `Server-Timing` headers in each response. These headers show how long different parts of the request took to process (for example, database execution time and internal processing time). You can use this information to debug slow queries, measure performance, and troubleshoot latency issues in your application.
## Authentication providers
The Data API uses **JSON Web Key Sets (JWKS)** to validate the JWT tokens sent by your clients. You can manage trusted providers in the **Authentication providers** section.
### Neon Auth (Default)
When you enable the Data API with Neon Auth, your project's unique JWKS URL is automatically configured. This allows the API to trust tokens generated by Neon's authentication system.
### Manage providers
You can add, replace, or remove authentication providers. Note that only one provider can be configured at a time.
- **Add a provider:** If no provider is currently configured, click **Set up authentication provider** and enter the JWKS URL supplied by your auth service (e.g., Auth0, Clerk, or Firebase). Some providers also require a [JWT Audience](/docs/data-api/custom-authentication-providers#what-is-jwt-audience) value.
- **Replace a provider:** To switch to a different provider, remove the current one first, then add the new one.
- **Remove a provider:** Click the optional menu (**...**) on the provider card and select **Remove provider**.
**Impact of removal:** Removing an authentication provider invalidates all tokens issued by that provider. Users relying on that provider will receive `401 Unauthorized` errors until they authenticate via a valid provider.
## Disable the Data API
If you no longer need HTTP access to your database, you can disable the API entirely.
Scroll to the **Disable** section at the bottom of the Configuration page and click the **Disable** button.
Disabling the Data API **immediately terminates** all active connections and blocks all incoming HTTP requests. Any applications, edge functions, or websites relying on the API will stop working instantly.